*** Udpated June 14, 2022
In the web design groups I hang out in on Facebook, there has been a lot of talk about website accessibility lately. Just like there are lawyers making a living by driving around and finding parking lots in some states that don’t comply with ADA requirements, there are also lawyers doing this with websites. If they cruise your website and don’t find it accessible for those with physical impairments, you could be violating federal ADA law and subject to a law suit.
So what does this all mean for you as a website owner?
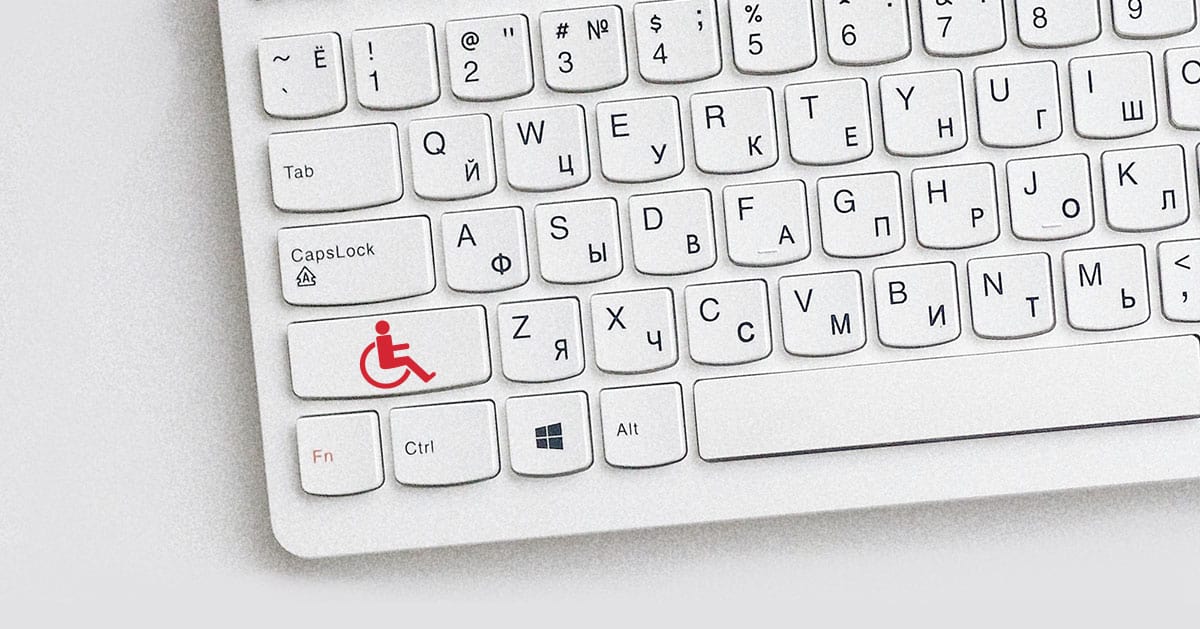
Website accessibility means that websites are created to work with assistive technologies like screen readers, so that people with disabilities can use the site. It also means you need to revisit your website and make sure it is meeting the ADA requirements.
The first thing to do would be to make sure that your site has been developed with all the basics of good website design:
- Responsive design, so that your site displays properly for tablets, phones and other devices
- Check to be sure that you have the appropriate heading level hierarchy (H1, H2 H3 tags, etc.)
- Group related content appropriately so content flows well and makes sense to the reader
- Have clear and consistent navigation throughout the site
- Do no auto-play video or audio and have clear controls for the user
Additionally, there are several other things that should be done for web accessibility:
Provide sufficient contrast between foreground and background.
If your background is white and your text is a light gray, that can be difficult for some visually impaired people to see well. For others, brighter colors with high luminance (think neon against a black background), are difficult to see.
Ensure that text links are easily identifiable.
Use image ALT tags.
This can not only be good for your SEO, but also identifies the image for visually impaired readers, as their screen reader will read them your image description. This is why it’s important to accurately describe the image here. For example, an ALT tag that says “blond woman standing next to a horse in a meadow” is preferable to “woman with horse”.
Be sure your text size is not too small.
Depending on the font you are using, an 18pt font size is generally recommended. This works well for standard sans-serif fonts like Lato, Montserrat, Arial, Verdana, etc. If your audience is older, consider making the font even larger, or adding a tool for the reader to increase the font size. Also make sure that your line spacing is not too close together.
Make sure your website can be accessed with a keyboard.
Some users do not have the dexterity to use a mouse. Thankfully most browsers allow this these days, but it’s up to you to make sure that none of the elements on your site can ONLY be accessed with a mouse.
Eliminate too much moving, flashing or blinking content.
This can make it harder for some visitors to read the content, or worse, cause seizures for some with some forms of epilepsy.
Add transcripts for all video and audio recordings.
Make it easy for visually or auditory impaired visitors to engage with your content, if they are unable to watch or listen.
Add labels to forms instead of using placeholder text.
This helps not only because the color of the text is darker, but it more easily identifies form fields.
Use the "aria-label" attribute on Learn More or Read More buttons.
It’s not always feasible to use descriptive text on some buttons, so adding the aria-label attribute can help those using screen readers know specifically where a button may take them.
An example of this would be “aria-label|Learn more about working with us” – this label can be added in the Advanced tab of Elementor when editing the button element.
Use the "Wave" Chrome extension to evaluate your website.
This Chrome extension will highlight which portions of your website need improvement for better accessibility.
Alternatively, you can visit webaccessibility.com to evaluate your website.
Lastly, you can add an accessibility statement to your website (most often the footer is a good place for these), that is a simple declaration of the amount of accessibility that you are attempting to achieve. For information about what that might look like, visit Nomensa’s blog post How to write an accessibility statement.